Turning, milling, drilling and grinding are all done both on conventional machines and also on CNC machine tools.
- Turning
• Components of up to 1m in diameter and 2m in length - Milling
• Components of up to 1.5m x 1.5m x 0.8m - In cooperation
• High pressure jet cutting
• Laser cutting
• Plate bending
• Deep drawing
Different welding methods, such as MAG, TIG or microplasma welding, can also be used whenever necessary.
Electron beam and laser welding are done by experienced partners.
- TIG welding
- Microplasma welding
- MAG arc welding
- Vacuum brazing ( High-Vacuum Heat Treatment Furnace )
- In cooperation
- Electron beam welding
- Laser welding
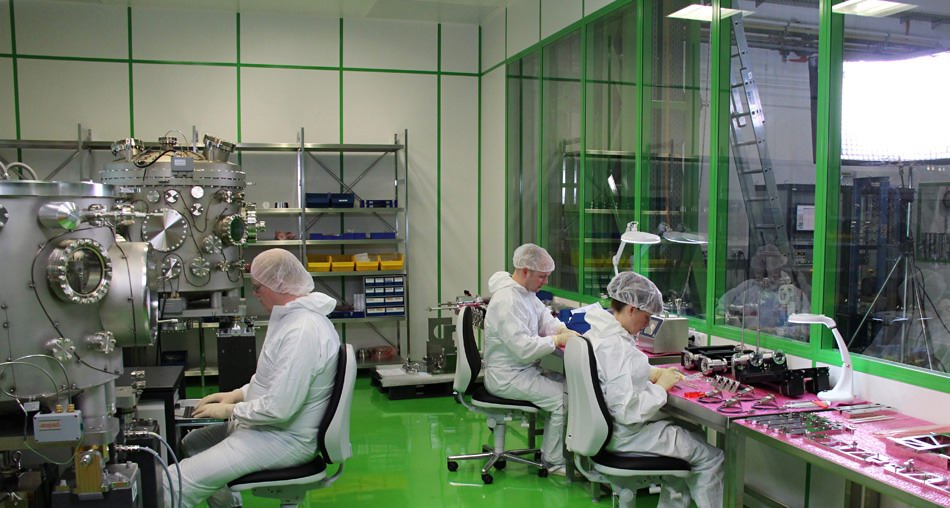
FMB ensures its equipment meets the high requirements in terms of cleanness and purity by conducting assembly in separate, low-particle-count or clean rooms.
- Appropriate assembly halls, including one dust free clean room, are available for UHV–proof assembly.
- High–precision theodolites are available for adjustment and high– precision position control of components and complete systems.
High-quality soldering work is done in our own clean high-vacuum furnace. FMB can also offer the right quality when soldering different materials and combinations of high-grade steel, copper, Glidcop or ceramic.
We are able to offer the following technologies and services :
- UHV–proof brazing on components made of copper,Glidcop, stainless steels, molybdenum, tungsten, mu–metal, ceramics
- Brazing under partial pressure (Ar and N2)
- Stress relief annealing
- Annealing for reduction of residual permeability
Technical Data :
- Brazing area dimensions (wxhxd) : 500 x 500 x 800 mm3
- Dimensions of parts (max) (wxhxd) : 600 x 600 x 1000 mm3
- Temperature (max.) : 1200 °C
- Final vacuum (cold, baked furnace) : <10–6 mbar
- Temperature measurement on components : at 9 positions
- Uniformity of temperature in the brazing area : <+/– 5 K
- Heating : Mo band heaters
- Radiation isolation : Mo and stainless steel
An air–conditioned vacuum testing laboratory and complete equipment with 4 pumping stands, a quadrupole mass spectrometer, and vacuum gauges are available for determination of the specific outgassing rate (measurement of differential pressure through a diaphragm).
All measurement date are collected using electronic data processing equipment.
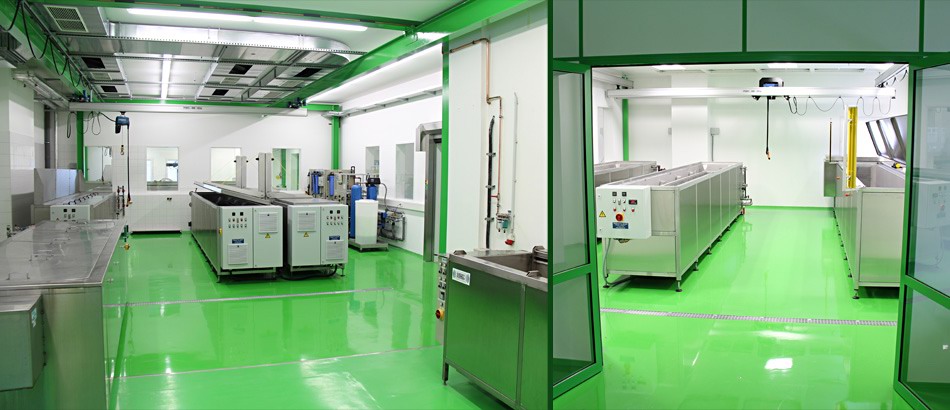
All production parts are cleaned vacuum-proof in special FMB laboratories.
Surface contaminants could have strong influence on final pressure, residual gas composition and other properties of the vessel. According to customers requirements FMB offers different UHV-
compatible cleaning qualities:
- Removal of contaminants that influence the pressure,
- additional removal of contaminents sticking on the chamber inner walls and
- additional reduction of paricles for clean room applications.
FMB is able to clean almost all vacuum compatible materials using approved material specific cleaning procedures.
The materials most frequently cleand are different grades of stainless steel, aluminium and copper, titanium and ceramics.
The entire cleaning and transportation to the next preparation step is done in-house and on schedule to reduce the risk of recontamination during packing, transport and unpacking to a minimum. The cleaned components meet the high requirements in terms of cleanness and
purity by conducting assembly in separate, low-particle-count or clean rooms.
FMB has the following infrastructure for cleaning purposes available:
Precleaning:
- Rinsing station with high pressure cleaner;
- Ultrasonic bath (LWH) 2500 x 620 x 600 mm³;
- Circulating air dryer (LWH) 1500 x 620 x 600 mm³;
- Overhead crane to handle heavier/bigger parts;
- Supply of hot and cold decalcinated water.
Standard UHV-cleaning (after pre-cleaning):
- Ultrasonic bath for stainless steel (LWH) 4000 x 800 x 800 mm³;
- Ultrasonic bath for Aluminium (LWH) 5000 x 500 x 500 mm³;
- Ultrasonic bath for Copper (LWH) 5000 x 500 x 500 mm³;
- Combined rising and dip tank (LWH) 5000 x 500 x 500 mm³ filled with demineralized water;
- Circulating air dryer (LWH) 4000 x 800 x 800 mm³;
- Overhead cranes to handle heavier/bigger parts;
- Disinfector for small parts running with ultra pure (full demineralized) water.
- Supply of demineralized and ultra pure water.
Surface and particle reduced cleaning (after standard UHV-cleaning):
- Cleaning under clean room conditions ISO 5;
- Rinsing station (LWH) 5000 x 500 x 500 mm³ filled with full demineralized water;
- Conductance rising station (LWH) 5000 x 500 x 500 mm³ filled with full demineralized water;
- Circulating air dryer with HEPA (high efficiency particulate air) filter (LWH) 5000 x 500 x 500 mm³;
- Overhead crane to handle heavier/bigger parts;
- Supply of ultra pure water;
- Equipment for registered particle counting
- Equipment for ultra pure water conductance measurement .
FMB is a licence holder for the NEG technology developed at CERN.
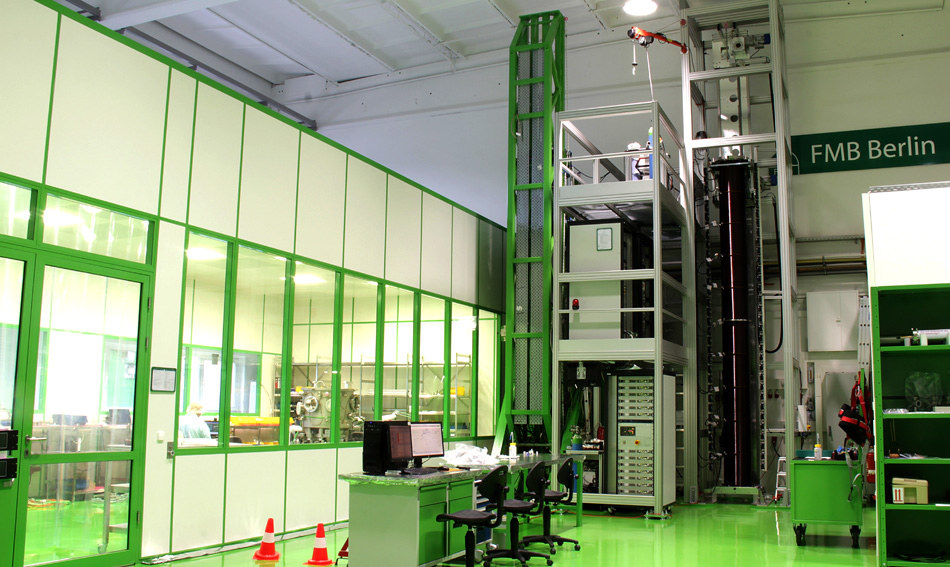
In special coating systems developed at FMB, vacuum chambers with the widest range of inner geometric sizes and made from materials such as stainless steel, aluminium, or copper can be coated with pump active NEG coats on the inner surfaces up to a length of 5 metres.
And the benefit for the customer here is that the whole production process, together with the UHV cleaning, NEG coating and tests are all completed in one source.
Surface treatments can be performed by:
- Glass bead blasting
- Pickling
- Electrolytic polishing
- Electro–plating
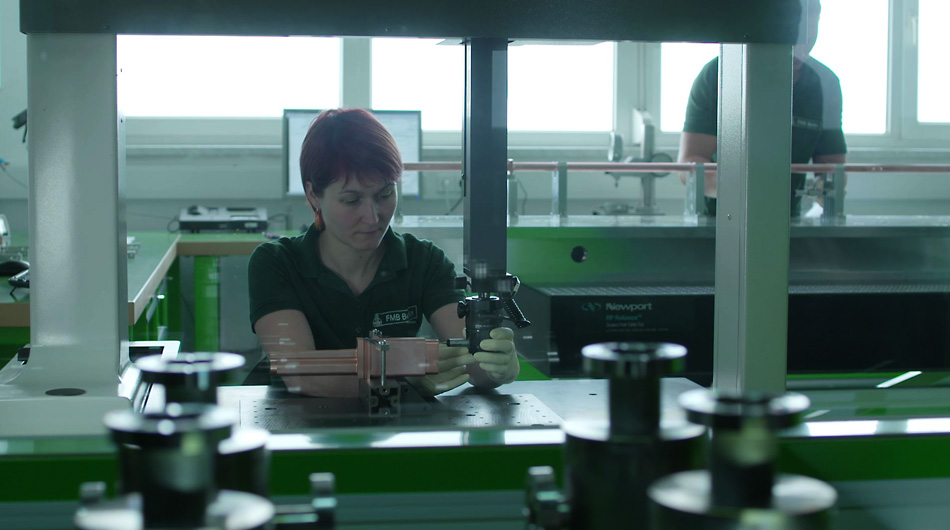
An air conditioned measurement room with integrated 3D measurement technology, a laser interferometer and a laser autocollimator is available for the optical and metrical measuring of all devices and components.
In order to monitor the narrow tolerance limits from production through to delivery, FMB utilises a mobile 3D measuring station. And of course all of the data collected here is recorded and documented.
- Metric testing
• Complete equipment for metric testing
• Single parts and small–lot testing using 3D coordinate measuring machine (Mitutoyo type)
- Permeability
• Measurement using a Foerster probe of the magnetoscope type 1.068 with probe (10 times higher sensibility)
• Use in workshop area with Low–Mu– Permeability Indicator (<1.01 – 2.5 µrel)
- Leakage testing
• Complete equipment with mobile He leakage detectors (HLT 270 and HLT 160)
- Ultrasonic testing
• Forged semi–finished parts will be subjected to a 100% ultrasonic testing at the German safety standards authority TÜV or the German Federal Institute for MaterialsTesting (BAM).
FMB offers design, development and installation of turn-key control systems hardware and software.
Systems are designed to use standard modules as far as applicable.
Otherwise applications and drivers will be developped in-house.
The design will regard customer requirements such as naming conventions and style guides.


